
Building a Spring Boot application using Java
- 6 minsSpring
Using Gradle it is pretty easy to start a new project. I am using Gradle 4.9 and Java 10 by default and IntelliJ IDEA for editing. I am using the command line to run basic commands for initialization.
gradle init --type java-application
This creates the following tree structure:
.
|-- build.gradle
|-- gradle
|   `-- wrapper
|       |-- gradle-wrapper.jar
|       |-- gradle-wrapper.properties
|-- gradlew
|-- gradlew.bat
|-- settings.gradle
`-- src
    |-- main
    |   `-- java
    |       `-- App.java
    `-- test
        `-- java
            `-- AppTest.java
Let’s update the project name in settings.gradle and the build.gradle file should be modified as well to suit our needs properly.
/*
* build.gradle file
*/

buildscript {
    repositories {
        mavenCentral()
    }
    dependencies {
        classpath("org.springframework.boot:spring-boot-gradle-plugin:2.0.3.RELEASE")
    }
}

plugins {
    id 'java'
    id 'application'
}

apply plugin: 'org.springframework.boot'
apply plugin: 'io.spring.dependency-management'

bootJar{
    baseName = projects.name
    version = '0.1.0'
}

dependencies {
    compile 'com.google.guava:guava:23.0'
    compile("org.springframework.boot:spring-boot-starter-web")
    testCompile 'junit:junit:4.12'
}

repositories {
    mavenCentral()
    jcenter()
}
/*
* settings.gradle file
*/

rootProject.name = 'spring-boot-basic'
The Spring framework provides support for creating a lot of Java files that enables the developer to focus on building the business logic instead of creating boilerplate code. With annotations on simple POJOs, one can acquire a much more flexible and way more elaborate code.
Moving on to the App.java file we should set up a @SpringBootApplication. This annotation provides support to set up a Tomcat server running on port 8080 by default. In order to be able to run the application, we should create an app package inside src/main/java because otherwise, the framework fails to detect our app.
/*
* App.java file
*/

package app;

import org.springframework.boot.SpringApplication;
import org.springframework.boot.autoconfigure.SpringBootApplication;

@SpringBootApplication
public class App {

    public static void main(String[] args) {
        SpringApplication.run(App.class, args);
    }

}
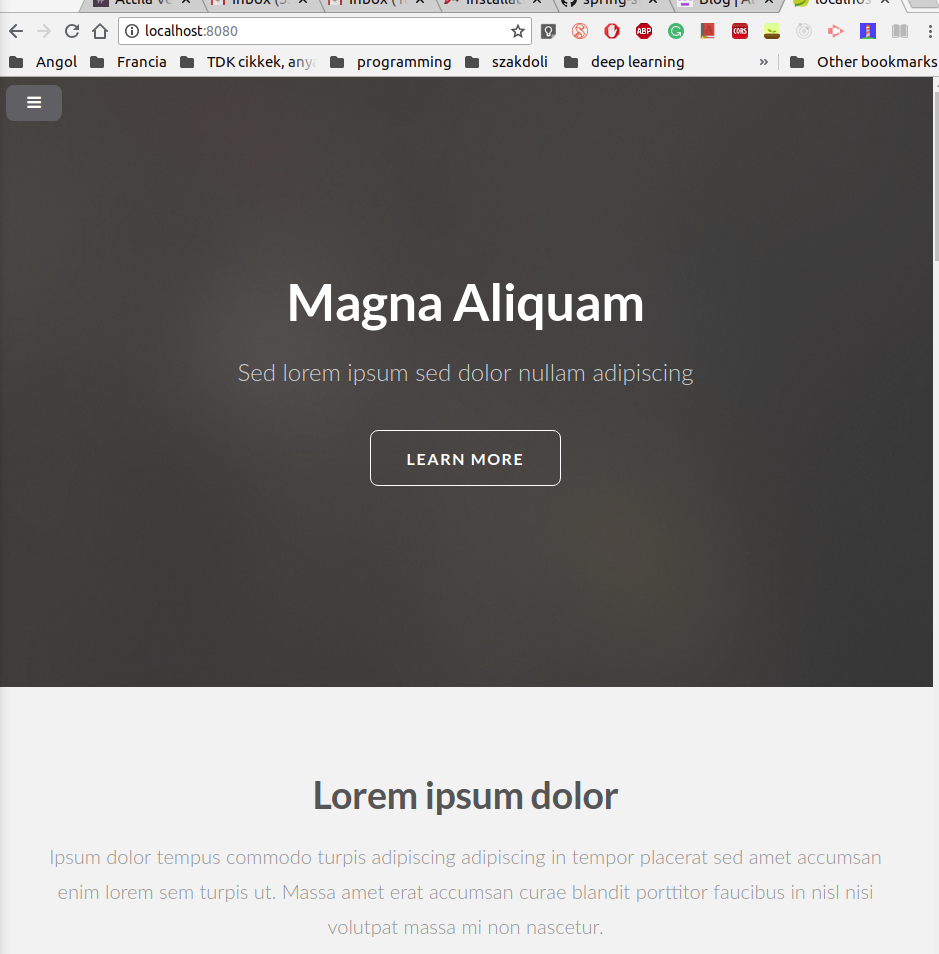
Let’s move on with defining an endpoint for serving static HTML content from a folder with CSS and js files. For this, I downloaded a project from a public site hosting basic templates here. Copying the content inside the src/main/resources/static folder of our application we can easily serve static content with our Spring App. Folder structure should look like this:
.
├── build.gradle
├── gradle
│   └── wrapper
│       ├── gradle-wrapper.jar
│       └── gradle-wrapper.properties
├── gradlew
├── gradlew.bat
├── settings.gradle
└── src
    └── main
        ├── java
        │   └── app
        │       └── App.java
        └── resources
            └── static
                ├── css/
                ├── elements.html
                ├── fonts/
                ├── images/
                ├── index.html
                ├── js/
                ├── left-sidebar.html
                ├── no-sidebar.html
                ├── right-sidebar.html
                └── sass/
I deleted the test folder after this step. By default, Spring uses the static folder under resources to serve static content. Now with gradle bootRun the application is served.
Basically, that is it. When we finished this we can create a docker image with Java that runs our jar file. After gradle bootRun was executed a jar file was created in build/libs folder. Creating a Docker file:
FROM java:8

COPY build/libs/projects-0.1.0.jar .

CMD [ "java", "-jar", "projects-0.1.0.jar" ]
This file pulls an image from DockerHub and after that on run, executes a command that runs our built jar file. Running docker build . -t spring-app we acquire an image called spring-app:latest. Finally, we can run our image by executing:
docker run -p 8080:8080 spring-app:latest

  .   ____          _            __ _ _
 /\\ / ___'_ __ _ _(_)_ __  __ _ \ \ \ \
( ( )\___ | '_ | '_| | '_ \/ _` | \ \ \ \
 \\/  ___)| |_)| | | | | || (_| |  ) ) ) )
  '  |____| .__|_| |_|_| |_\__, | / / / /
 =========|_|==============|___/=/_/_/_/
 :: Spring Boot ::        (v2.0.3.RELEASE)

2018-08-16 19:17:37.543  INFO 1 --- [           main] app.App                                  : Starting App on 23bbd1a4d2f9 with PID 1 (/projects-0.1.0.jar started by root in /)
2018-08-16 19:17:37.551  INFO 1 --- [           main] app.App                                  : No active profile set, falling back to default profiles: default
...
... // I left out some lines here
...
 Mapped URL path [/**] onto handler of type [class org.springframework.web.servlet.resource.ResourceHttpRequestHandler]
2018-08-16 19:17:39.646  INFO 1 --- [           main] o.s.b.a.w.s.WelcomePageHandlerMapping    : Adding welcome page: class path resource [static/index.html]
2018-08-16 19:17:39.761  INFO 1 --- [           main] o.s.j.e.a.AnnotationMBeanExporter        : Registering beans for JMX exposure on startup
2018-08-16 19:17:39.803  INFO 1 --- [           main] o.s.b.w.embedded.tomcat.TomcatWebServer  : Tomcat started on port(s): 8080 (http) with context path ''
2018-08-16 19:17:39.806  INFO 1 --- [           main] app.App                                  : Started App in 2.777 seconds (JVM running for 3.157)
2018-08-16 19:17:43.079  INFO 1 --- [nio-8080-exec-1] o.a.c.c.C.[Tomcat].[localhost].[/]       : Initializing Spring FrameworkServlet 'dispatcherServlet'
2018-08-16 19:17:43.079  INFO 1 --- [nio-8080-exec-1] o.s.web.servlet.DispatcherServlet        : FrameworkServlet 'dispatcherServlet': initialization started
2018-08-16 19:17:43.092  INFO 1 --- [nio-8080-exec-1] o.s.web.servlet.DispatcherServlet        : FrameworkServlet 'dispatcherServlet': initialization completed in 13 ms
We mapped the inner port 8080 to our 8080 port outside. Now we can reach our app on localhost:8080 as well as before.
You can find the final app here.
@Regards, Alex

Alex Olar
Christian, foodie, physicist, tech enthusiast